






A brown ceiling ring, a soft spot near the baseboard, or bubbling paint after a plumbing leak is more than a cosmetic problem. Knowing how to repair water damaged drywall starts with one non-negotiable step: stop the water and make sure the area is truly dry. Covering the stain or patching soft drywall before addressing the source can trap moisture in the wall and turn a manageable repair into mold growth, damaged framing, or another leak stain.
For homeowners in Macomb County and Metro Detroit, water damage often comes from a bathroom supply line, shower plumbing, an overflowing fixture, a roof leak, or a wet basement wall. The right repair depends on how long the area stayed wet, how far the water traveled, and whether the drywall has lost its strength.
First, Find and Stop the Water Source
Do not begin cutting, sanding, or painting until you know why the drywall got wet. A one-time overflow that was cleaned up immediately is very different from a slow leak behind a vanity or inside a shower wall. The latter may have been wet for weeks before a stain became visible.
Check the spaces above, behind, and beside the damaged area. Look for dripping supply valves, loose drain connections, failed caulk around a tub or shower, roof penetrations, appliance hoses, and plumbing in the room overhead. If the drywall damage is below a bathroom, run fixtures one at a time while watching for fresh moisture. If water is still active, shut off the fixture or the home’s water supply as needed and arrange for the plumbing repair first.
A repaired drywall patch cannot compensate for a failed shower pan, leaking pipe, or recurring roof issue. Correcting the cause protects the repair and prevents the same damage from returning.
Decide Whether the Drywall Can Be Saved
Drywall is made with a gypsum core and paper facing. Once it becomes saturated, the paper can separate, the core can crumble, and the panel may no longer hold screws, joint compound, or paint properly. Some lightly affected areas can dry and be refinished. Others need to be removed and replaced.
Press gently around the stain. Drywall that feels firm, flat, and dry may be salvageable after thorough drying and stain treatment. Drywall that is soft, swollen, sagging, warped, cracked, or crumbly should be cut out. Peeling paper, raised seams, and popped fasteners are also signs that moisture has compromised the board.
Ceiling damage deserves extra caution. A sagging ceiling can hold a surprising amount of water and may fail without much warning. Keep people out from under the area, place a container below any active drip, and call a qualified professional if the ceiling is bulging, extensively stained, or soft to the touch.
You should also consider the type of water involved. Clean water from a supply line is generally less hazardous once the leak is stopped. Water from a toilet overflow, sewer backup, or flooding can contain contaminants. In those situations, affected drywall, insulation, and porous finishes often need more extensive removal and professional cleanup.
Dry the Area Before Repairing Water-Damaged Drywall
Drying is not a step to rush. Surface dryness does not prove the cavity behind the drywall is dry, especially in bathrooms, exterior walls, and finished basements. Remove wet rugs, insulation, trim, or other materials that are holding moisture against the wall.
Use air movement and dehumidification to dry the area, not just heat. Fans can help circulate air, while a dehumidifier pulls moisture from the room. If the damaged section will be removed, opening the wall gives the framing and backside of neighboring drywall a chance to dry properly.
A moisture meter provides the most reliable answer, particularly after a hidden plumbing leak. Without one, allow adequate drying time and look for continuing dampness, odor, discoloration, or condensation. If there is a persistent musty smell or visible mold, do not simply paint over it. The moisture issue and affected materials need to be handled correctly.
How to Repair Water Damaged Drywall That Needs Replacement
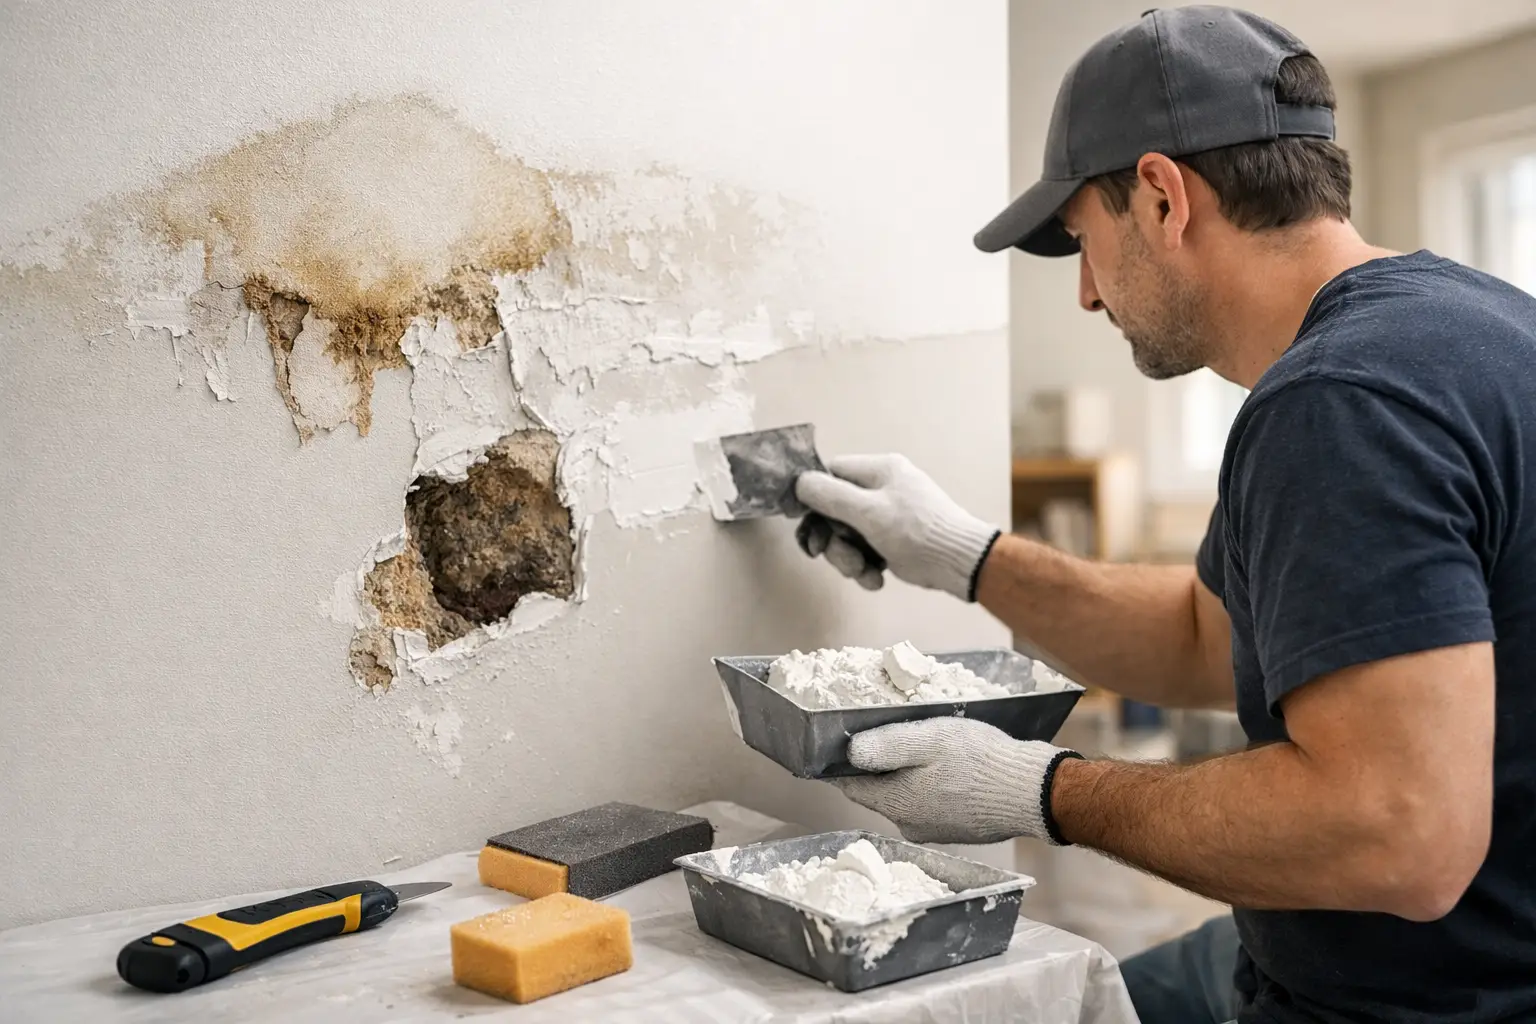
When drywall is soft or damaged beyond a small surface stain, a clean patch is the long-term repair. The goal is not only to hide the hole, but to create solid backing, a flat surface, and a finish that disappears into the surrounding wall.
Before cutting, turn off power to outlets or switches near the repair area if there is any chance water reached electrical components. Use caution around plumbing and wiring hidden inside the wall. Mark a square or rectangle that extends beyond the damaged material into firm, dry drywall. Straight cuts make fitting and finishing the patch much easier.
Remove the damaged panel section and inspect the wall cavity. Replace wet insulation. Check studs and plates for staining, decay, or remaining moisture. If framing is still wet, let it dry before closing the wall. This is also the right time to address a leak, add blocking for a secure patch, or make necessary plumbing corrections.
For most patches, install wood backing or blocking behind the existing drywall edges. Cut a new drywall piece to fit with small, even gaps, then fasten it to the backing and any available studs. In moisture-prone locations such as bathroom walls, the surrounding assembly matters. Standard drywall may be acceptable in a dry portion of the room, but areas around showers, tubs, and tile require the correct moisture-resistant substrate for that specific installation.
Do not assume green board or moisture-resistant drywall is a substitute for cement board or another approved tile backer in a wet shower area. Choosing the wrong material behind tile can lead to loose tile, water intrusion, and a much larger renovation later.
Finish the Patch So It Blends In
A patch can be structurally sound and still look obvious if the finishing is rushed. Apply paper or fiberglass tape over the seams, then use joint compound in several thin coats. Each coat should extend wider than the one before it. This gradual feathering keeps the repaired area from looking like a raised square after paint goes on.
Let each coat dry fully, sand lightly, and use a straightedge or work light held at an angle to check for ridges and low spots. Match the wall texture before priming if the surrounding surface has orange peel, knockdown, or another finish. Texture is often where a do-it-yourself patch becomes noticeable, so testing a small area first can save time.
Once the surface is smooth and dry, apply a stain-blocking primer. Ordinary wall primer may allow old water marks to bleed through fresh paint, even after the drywall has been repaired. Finish with matching paint, ideally applied across the full wall or ceiling plane when color matching is difficult. A small touch-up may stand out because existing paint has faded or changed over time.
When a Stain Can Be Repaired Without Replacing Drywall
If the drywall remained firm, dried quickly, and has no odor, swelling, or mold concern, replacement may not be necessary. Scrape away loose paint, lightly sand damaged paper fibers, and seal the stain with a quality stain-blocking primer. Minor surface imperfections can be skim-coated with joint compound before priming and painting.
This approach works best for a small, old stain caused by a resolved leak. It is not the right choice for a ceiling with sagging paper, a wall that feels soft, or a repeated stain that keeps returning after rain or fixture use. In those cases, the wall is giving you useful information. Investigate it rather than covering it.
When to Call a Professional
Small, clean-water repairs can be manageable for a confident homeowner with the right tools and time. However, professional help is usually the smarter choice when the damage involves a ceiling, a large area, a bathroom or shower wall, possible mold, contaminated water, electrical concerns, or a leak whose source is unclear.
A qualified remodeling contractor can assess the damaged drywall in the context of the entire space. That matters in bathrooms and kitchens, where plumbing, tile assemblies, cabinetry, and ventilation can all contribute to the issue. Renovation Innovations approaches repair work with the same attention to detail used on full renovations: locate the cause, protect the home, repair the assembly correctly, and leave a clean, polished finish.
A water stain is easy to dismiss when it is small. Addressing it while the repair is contained gives you the best chance of preserving the wall, protecting the framing, and getting your room back to looking like the leak never happened.
