







A single cracked floor tile or missing backsplash piece can draw attention every time you walk into the room. Learning how to match existing tile is less about finding something that looks close in a store and more about comparing the details that make tile read as one continuous surface: its true size, finish, color variation, grout joint, and layout.
For homeowners in Macomb County and Metro Detroit, the right repair can preserve a bathroom or kitchen for years without forcing a full renovation. The wrong replacement can make a small repair look more noticeable than the original damage. A careful process gives you the best chance of a clean, durable result.
Start With the Tile You Have
Before shopping, remove one loose spare tile if you have it. If no extras remain, take clear photos in natural daylight and under the room’s regular lighting. Bring a sample from an inconspicuous area only when removal will not create additional damage or compromise waterproofing.
Measure the tile itself, not just the space it occupies. A tile sold as 12 by 24 inches may have an actual finished size closer to 11 7/8 by 23 7/8 inches. That small difference matters when a replacement must fit an existing grout joint. Measure the length, width, thickness, and grout-joint width with a tape measure or calipers if available.
Look at the tile edge as well. Rectified tile has sharply cut, square edges and usually uses narrow grout joints. Pressed tile has slightly softened or irregular edges, often with wider joints. A replacement with the wrong edge profile can make the spacing look uneven even when the color is close.
How to Match Existing Tile Beyond Color
Color is the feature homeowners notice first, but it is only one part of the match. Tile can look warm, cool, creamy, gray, beige, or white depending on the lighting around it. Take the sample near a window, then view it under the room’s bulbs. A white tile with a yellow undertone can look noticeably different next to a cooler white.
Finish is just as important. Glossy wall tile reflects light and can make a similar matte tile look flat or dirty by comparison. Honed stone, polished stone, satin porcelain, textured ceramic, and glazed glass all handle light differently. Run a hand over the surface and note whether it feels smooth, wavy, textured, or lightly raised.
Pattern and movement also affect the result. A marble-look porcelain tile may have veining that is printed in several faces, while natural stone has variation that cannot be repeated exactly. With wood-look tile, check the plank width, grain direction, embossing, and color range. A tile that appears similar in one photo may clash when installed across a larger area.
The tile body matters for repairs, especially at exposed edges. Porcelain often has a dense body that may carry color through the tile, while a glazed ceramic tile can reveal a contrasting clay body when cut. Matching the face without matching the edge can create a visible line at a niche, curb, backsplash return, or floor transition.
Find the Manufacturer and Product Details
The fastest route to a true match is identifying the original product. Check leftover boxes, attic storage, basement shelves, garage cabinets, and records from the prior renovation. A box label may list the manufacturer, collection name, color name, size, lot number, and production date.
If the tile was installed recently, contact the original builder, designer, installer, or tile supplier. Even when the product is discontinued, they may be able to locate remaining inventory or identify a current alternative in the same collection.
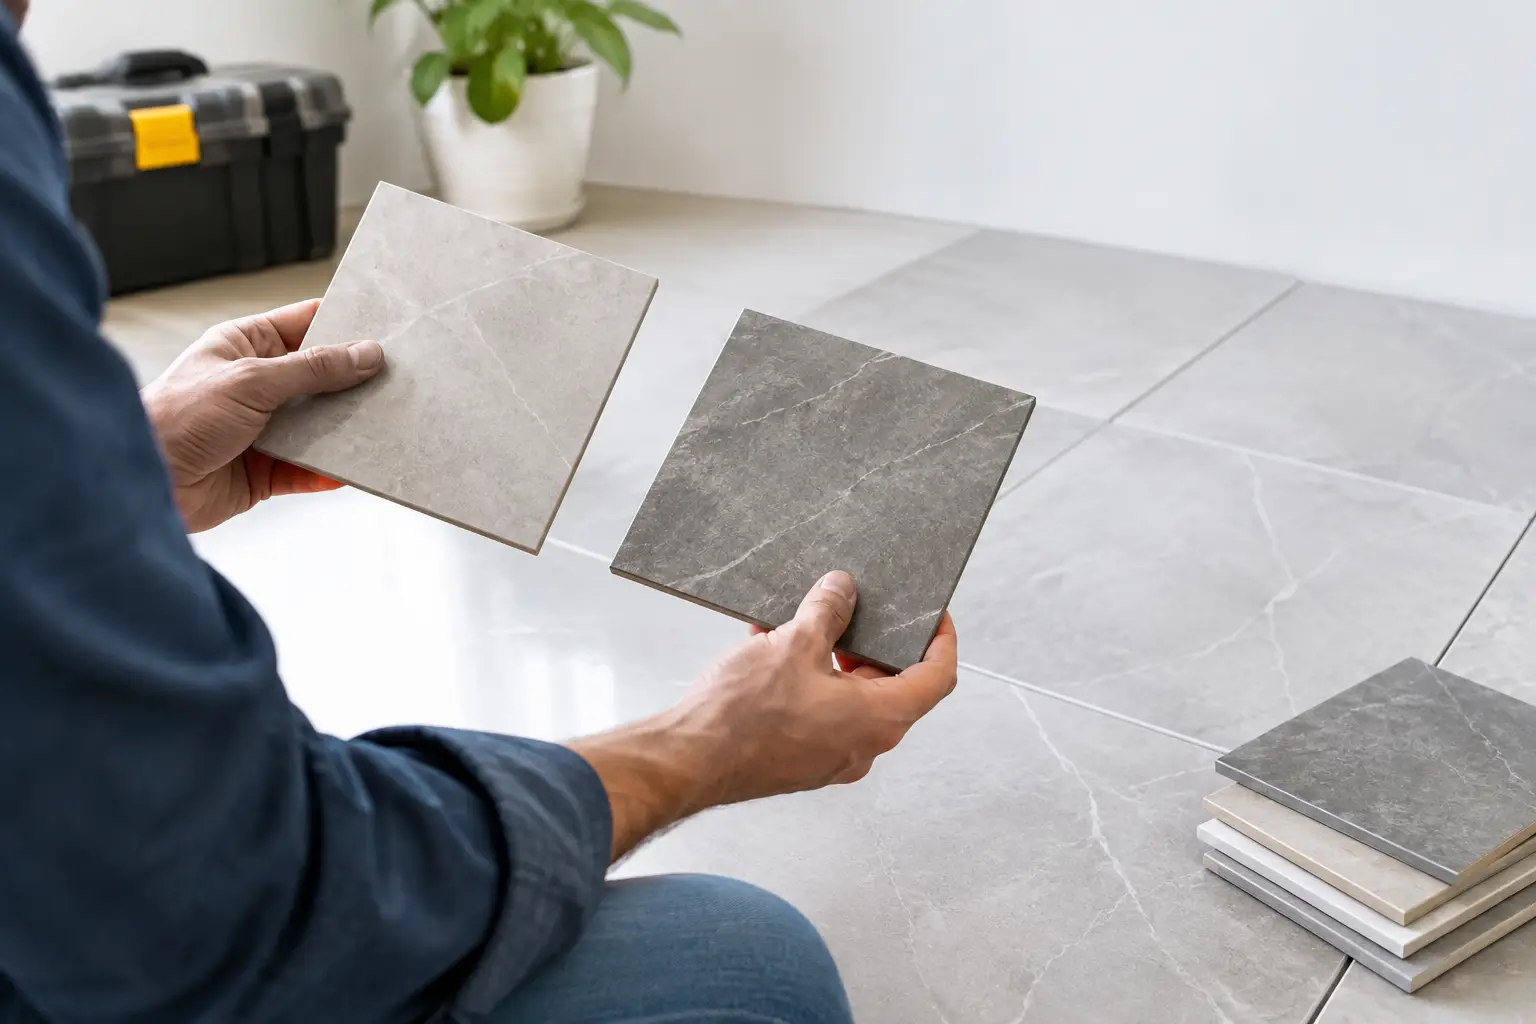
Bring a physical sample to a tile showroom whenever possible. Phone photos can shift color, and online images rarely show the real surface texture. A good supplier can compare your sample against current lines and may search discontinued inventory. Ask for several samples rather than choosing the first close option.
Production lots are a real consideration. Tile made in a different run can vary slightly in shade, calibration, or gloss. This does not always prevent a successful repair, but it is why professionals dry-lay replacements beside existing tile before setting them. If the new pieces are subtly lighter or darker, their placement may need to be adjusted so the difference is less apparent.
Compare Samples in the Actual Room
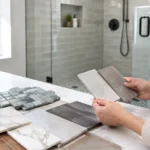
Never approve a replacement sample only under showroom lighting. Set it next to the existing tile in the room where it will be installed. View it in daylight, at night, and with the lights you use most often. Stand close, then step back several feet. A difference that is obvious at arm’s length may disappear from normal viewing distance, or the reverse may be true.
Place the sample in more than one location. Floors and shower walls receive different amounts of light, and an under-cabinet backsplash can look different than an open wall. Check the sample beside the grout, countertop, vanity, cabinetry, and trim. These surrounding finishes can make undertones much easier to see.
For patterned tile, arrange multiple sample pieces. One tile may look right by itself while the repeated pattern or vein direction looks artificial beside the existing installation. This is particularly important with marble-look porcelain, encaustic-style patterns, and wood-look planks.
Do Not Overlook Grout and Layout
A well-matched tile can still stand out if the grout is wrong. Existing grout changes over time from cleaning products, moisture, cooking residue, and normal wear. The original color on the bag may no longer match the installed joints.
Start by cleaning a small test area using an appropriate tile-and-grout cleaner. This helps distinguish true discoloration from surface buildup. Then compare grout color charts against the cleaned area. In many repairs, blending new grout to the current appearance is more effective than using the original named color.
Layout deserves the same attention. Note whether the tile is stacked, offset, herringbone, diagonal, or centered on a focal point. Check where cut tiles fall at walls, cabinets, corners, and fixtures. Replacing several damaged tiles without respecting the existing pattern can make the repair feel patched even when the material is a close match.
In wet areas, repairs must also protect the assembly behind the tile. A cracked shower tile may point to movement, improper bonding, water intrusion, or a failure in the backer and waterproofing system. Simply setting a new tile over an unresolved issue can lead to repeat damage.
When an Exact Match Is Not Available
Discontinued tile is common, especially in homes renovated several years ago. When an exact match cannot be found, the best answer is not always to replace one tile with the nearest look-alike. A planned design adjustment can look intentional and often produces a better long-term result.
A compatible accent band, a framed niche, a new backsplash focal area, or a transition at a natural break may allow a replacement tile to become part of the design rather than a failed imitation. On a floor, it may make sense to use a coordinating border or replace a section bounded by doorways. The right solution depends on the room layout, available material, budget, and condition of the surrounding tile.
For a small isolated repair, a slightly different tile can sometimes be placed where it is least visible, such as behind a removable appliance or inside a closet. For a highly visible shower wall, kitchen backsplash, or entry floor, a more thoughtful partial update is usually worth considering.
Know When to Bring in a Tile Professional
Tile removal can damage neighboring pieces, drywall, backer board, or waterproofing if it is rushed. Glass tile, large-format porcelain, natural stone, and mosaics require different cutting methods and setting materials. A professional can evaluate whether the damaged tile is an isolated issue and remove it with the least possible disturbance to the surrounding finish.
Renovation Innovations helps homeowners with detailed tile repairs as well as larger bathroom and kitchen updates. The goal is not to push a full remodel when a precise repair will solve the problem. It is to identify the cause, find the best available material match, and complete the work cleanly so the repaired area belongs in the room.
Keep any leftover tile, product labels, grout information, and installation photos after every project. Store them together in a labeled container. That small habit can turn a future repair from a frustrating search into a straightforward fix. When no extras exist, patience with sampling and careful comparison will give your home the most natural-looking result.
