









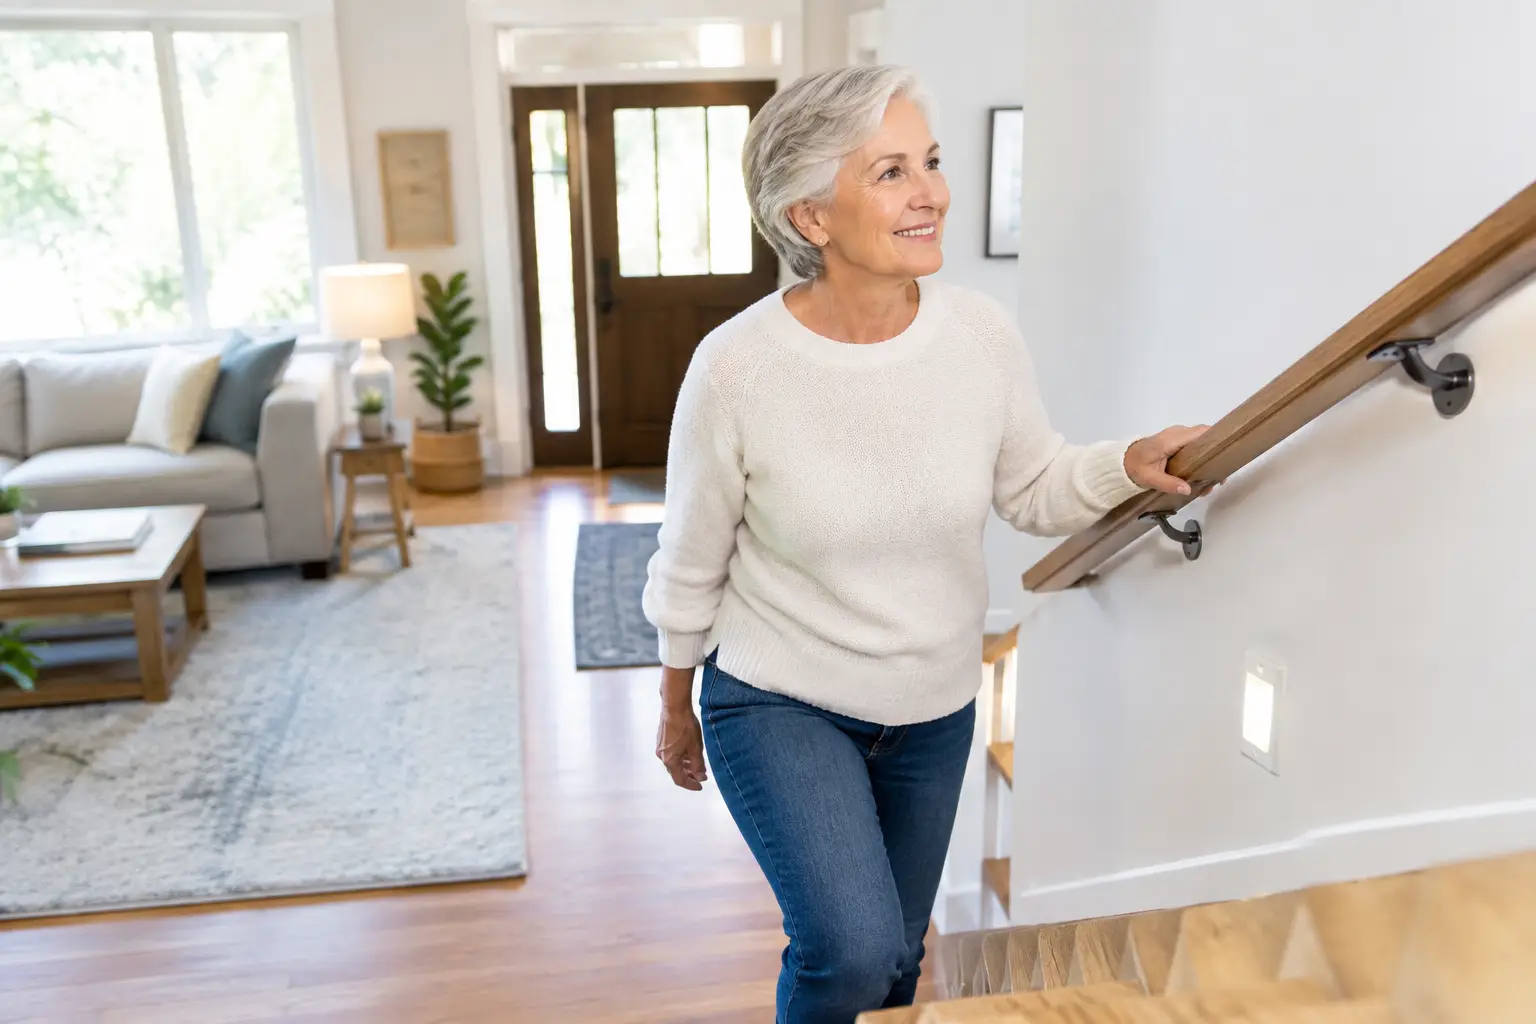
A home does not need to look clinical to be safer, easier to use, and ready for the years ahead. The best aging in place upgrades are often thoughtful design decisions that improve daily routines now while reducing avoidable risks later. For many Macomb County and Metro Detroit homeowners, the bathroom and kitchen are the right places to start because they combine hard surfaces, tight layouts, water, storage, and frequent use.
A well-planned remodel can provide a more comfortable home without sacrificing style. The key is to look beyond a single product or trend and consider how flooring, lighting, clearances, fixtures, and storage work together.
Start With the Rooms That Create the Most Friction
Aging in place does not mean completing every possible improvement at once. It means making practical choices that support independence and make the home easier to navigate as needs change. A homeowner who is perfectly mobile today may still appreciate a shower without a high threshold, brighter task lighting, or drawers that eliminate kneeling in a lower cabinet.
Bathrooms usually deserve first priority. A wet floor and a tub wall can turn a normal routine into a difficult one quickly. Kitchens are a close second, particularly when a layout requires repeated bending, reaching, or carrying items across a crowded space. Entryways, hallways, and bedrooms also matter, but kitchen and bath renovations often offer the strongest combination of daily comfort, safety, and long-term value.
The Best Aging in Place Upgrades for Bathrooms
1. Replace a Tub With a Low-Threshold Shower
A curbless shower is one of the most effective ways to reduce a bathroom barrier. It allows a person to walk in without stepping over a tub wall or raised shower base, and it can better accommodate a shower chair or mobility aid if one is ever needed.
This upgrade requires careful construction, not just a different shower pan. Proper floor slope, waterproofing, drain placement, and tile selection all affect how the shower performs. In some homes, framing and plumbing conditions may make a completely curbless entry more involved. A low-threshold shower can still provide a major improvement when a true zero-entry design is not practical.
2. Choose Slip-Resistant Tile With Smart Grout Details
Bathroom flooring should feel secure underfoot, especially near the shower and vanity. Small-format floor tile can provide more grout lines for traction, while textured porcelain tile offers a durable option in many designs. The right choice depends on the room’s style, cleaning preferences, and the amount of water the floor will see.
Avoid choosing a floor solely because it looks smooth and polished in a showroom. Some glossy finishes become slippery when wet. Tile craftsmanship matters here: consistent layout, appropriate grout joints, clean transitions, and properly sealed wet-area work help create a floor that looks finished and functions reliably.
3. Install Grab Bars With Proper Structural Support
Grab bars are most useful when they are installed before they are urgently needed. They do not have to look institutional. Many current options resemble towel bars or coordinate with modern plumbing finishes, making them easier to incorporate into a polished bathroom design.
What matters most is the installation behind the finished wall. Grab bars need secure blocking or fastening designed to carry weight. If a bathroom remodel includes opening walls, adding reinforcement near the toilet and shower is a smart, low-visibility upgrade. Even if bars are not installed immediately, the structure will be ready later.
4. Create a Comfortable Vanity and Better Lighting Plan
A vanity should allow room to stand close to the counter and reach daily essentials without strain. Drawers are typically easier to access than deep base cabinets, and a wall-mounted vanity can create valuable toe space beneath the cabinet. The ideal counter height is personal, so it is worth discussing who uses the bathroom and how the space is used before finalizing cabinetry.
Lighting deserves equal attention. Bright, even vanity lighting reduces shadows for grooming, while a separate ceiling fixture supports overall visibility. Adding a night light, illuminated mirror, or motion-sensing pathway light can make late-night bathroom visits more comfortable without changing the room’s appearance.
5. Make the Toilet Area Easier to Use
A comfort-height toilet can make sitting and standing easier for many adults because its seat sits higher than a standard model. Adequate clearance around the toilet also matters. In a tight bathroom, a few inches gained through a revised layout can make the difference between a room that feels restrictive and one that works well.
This is another location where future grab-bar blocking is valuable. If space permits, consider an open approach to the toilet rather than placing it in a narrow enclosed room. The best layout balances privacy, clearance, plumbing realities, and the home’s existing footprint.
Aging in Place Kitchen Upgrades That Reduce Reaching and Bending
6. Prioritize Drawers, Pullouts, and Reachable Storage
The most useful kitchen storage is not necessarily the most storage. It is storage that can be reached without kneeling, stretching, or moving several items to find one pan. Deep drawers for cookware, pullout shelves for pantry goods, and organized cabinets near the work zone can make a substantial difference in day-to-day use.
Place frequently used items between shoulder and knee height whenever possible. Less-used serving pieces and seasonal items can occupy higher cabinets. This approach keeps the kitchen functional without requiring a dramatic change in its look.
7. Improve Task Lighting and Outlet Access
Kitchen counters need direct, dependable light for food preparation. Under-cabinet lighting reduces shadows created by upper cabinets and makes chopping, reading labels, and cleaning easier. It also adds a finished appearance to a kitchen remodel.
Convenient outlets reduce the need to carry appliances or use extension cords across counters. Their placement should be planned around how the household actually uses the kitchen: coffee station, mixer, charging area, and food prep zone. Small planning details like these often have more impact than homeowners expect.
8. Select Hardware and Fixtures That Require Less Effort
D-shaped cabinet pulls are generally easier to grasp than small knobs, especially for someone with reduced hand strength or arthritis. A single-handle faucet can be simpler to operate than separate hot and cold handles, and a pull-down sprayer can make rinsing dishes and filling pots easier.
These are modest changes compared with moving walls or replacing cabinetry, but they can improve comfort immediately. They also show why aging in place planning does not need to be all-or-nothing. A kitchen can become more usable through a series of well-chosen improvements.
Plan Early to Avoid Expensive Rework
The best time to build aging in place features into a bathroom or kitchen is during a planned renovation. Opening walls later to add blocking, changing a finished shower floor for better access, or reworking a cabinet layout after installation can add unnecessary cost and disruption.
During an initial design conversation, be clear about present needs and future concerns. Do you want to remain in the home long term? Is there a family member with mobility limitations? Do you prefer a spa-like bathroom that also happens to be safer? Those answers guide decisions about layout, materials, and budget.
Renovation Innovations helps homeowners translate those priorities into custom bathroom and kitchen plans, from targeted tile repairs to full remodels. A detailed estimate and a careful look at the existing room can reveal which upgrades fit the home now and which should be prepared for later.
The right aging in place remodel should still feel like your home: comfortable, attractive, easy to maintain, and built with enough care that you can rest easy using it every day.
