









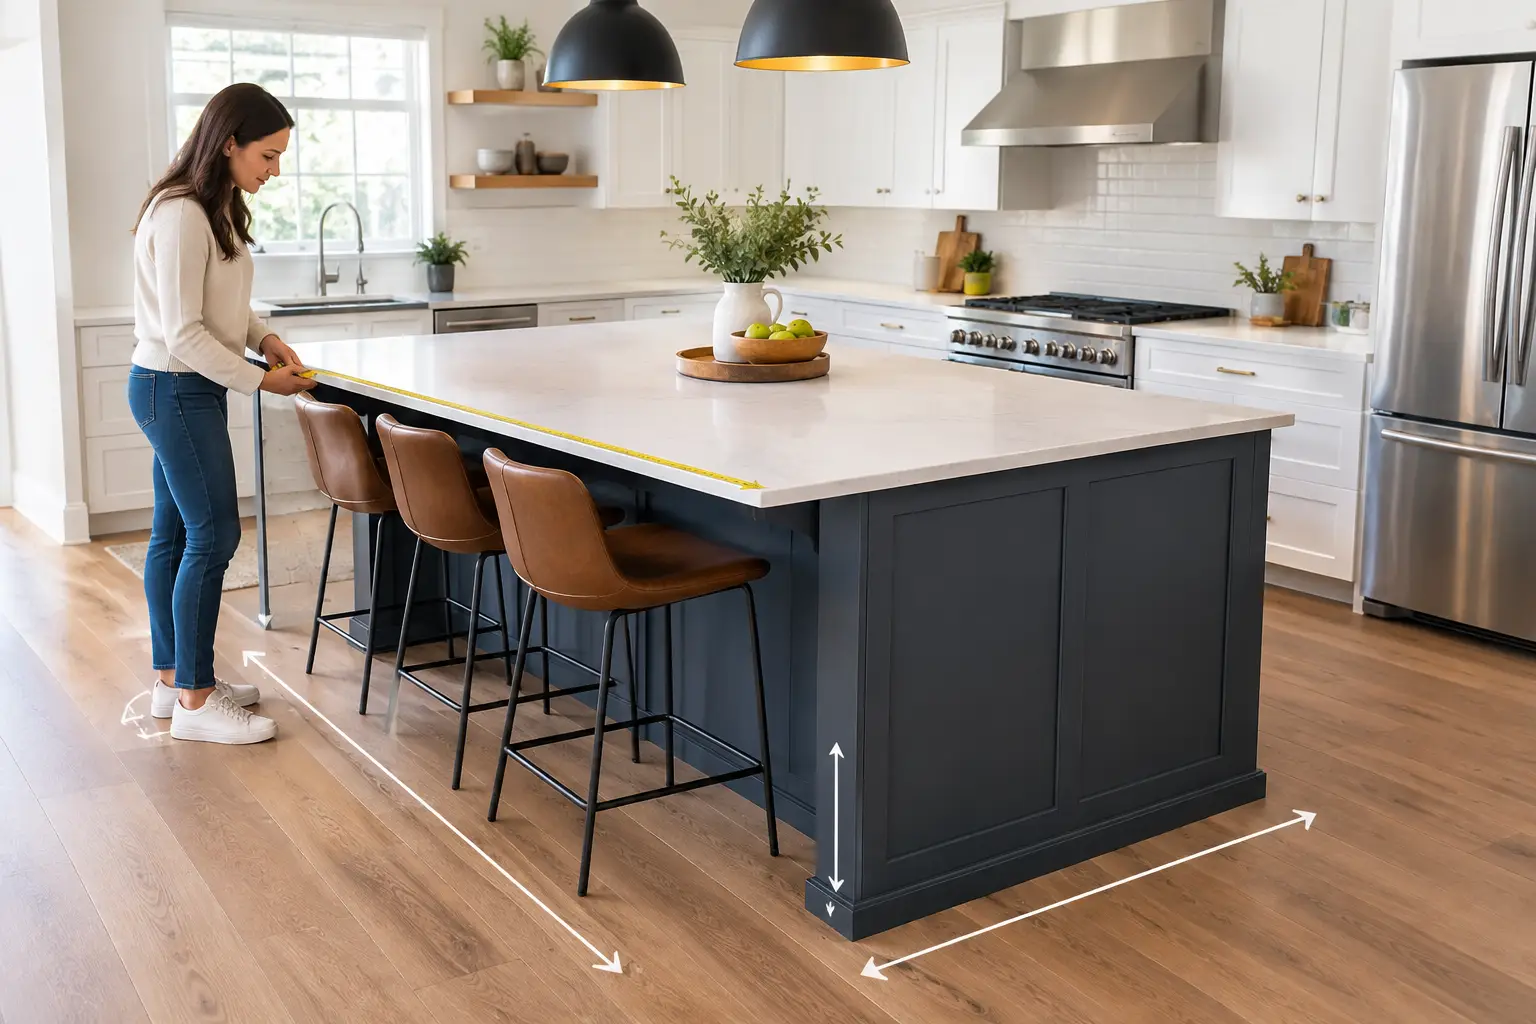
A kitchen island can make an older kitchen feel completely different – more useful for weeknight meals, better for hosting family, and far easier to organize. But an island that is even a few inches too large can create a cramped walkway, block appliance doors, and make the room frustrating to use. This kitchen island sizing guide focuses on the measurements that protect comfort and function before cabinets, countertops, and tile are installed.
The right size is not determined by what looks impressive in a showroom. It depends on the room’s actual dimensions, the location of doors and windows, appliance clearances, traffic patterns, and how your household uses the kitchen every day.
Start With the Walkways, Not the Island
The island should fit the kitchen, not force the kitchen to fit around it. Before choosing cabinet widths or countertop overhangs, establish the open space between the island and the surrounding cabinets, walls, and appliances.
In most kitchens, 42 inches of clear aisle space is a workable minimum for a one-cook kitchen. 48 inches is generally more comfortable where two people cook together, children pass through the space, or appliance doors open into the aisle. These clearances should be measured from the finished edge of the island countertop to the finished face of the opposing cabinet or wall.
A 36-inch aisle can sometimes work in a tight renovation, particularly along a low-traffic wall with no appliance doors. It is rarely the best choice between an island and the main working cabinets. That narrower clearance tends to feel restrictive once cabinet drawers, a dishwasher, or an oven door is open.
Check every moving part
A good plan accounts for more than standing room. Open the dishwasher, refrigerator, oven, microwave drawer, and pullout trash cabinet on paper before construction begins. Consider who will use each appliance and whether another person can move through the kitchen at the same time.
For example, a refrigerator may technically open with a 42-inch aisle, but the kitchen can still feel congested when someone is unloading groceries. A slightly smaller island may provide a much better daily experience. These are the practical decisions that make a remodel feel carefully planned rather than simply fitted into the room.
Kitchen Island Sizing Guide: Common Dimensions
There is no single standard island size, but these dimensions provide a reliable starting point for planning.
- Minimum functional island: About 2 by 4 feet. This can add prep space and limited storage, though it will not accommodate many features.
- Typical prep and storage island: About 3 by 6 feet. This size often provides useful base cabinets, a comfortable work surface, and room for a modest seating arrangement.
- Larger family kitchen island: About 4 by 7 feet or 4 by 8 feet. This can support deeper storage, seating, and potentially a sink or cooktop, provided the surrounding aisles remain generous.
- Oversized island: Larger than 4 by 8 feet. It may suit an open-concept kitchen, but it should be designed carefully so the countertop does not become a long, inconvenient reach during meal prep.
The minimum recommended island depth is usually 24 inches for standard base cabinets and a countertop. A 24-inch-deep island is useful for storage and prep, but it is often too narrow for seating on the opposite side unless the seating is shallow and the room is tight.
A 36-inch or 42-inch depth can create a better balance when seating is part of the plan. It allows standard cabinet storage on one side and a proper countertop overhang on the other. A deeper island may also house cabinets on both sides, which is valuable in a large kitchen where extra storage matters more than bar stools.
Plan Seating Around Real People
Island seating often looks simple in a design drawing, but comfortable seating requires more room than many homeowners expect. Allow 24 inches of width per stool as a practical minimum. A 6-foot island can usually seat three people, although 30 inches per seat feels more relaxed when the island is used for meals, homework, or entertaining.
Counter seating typically needs a 12-inch countertop overhang for knee room. Bar-height seating may require a deeper overhang, while a 15-inch overhang can be more comfortable for taller family members. The support system matters as well. Large stone overhangs may need brackets or concealed steel support, depending on the material and span.
Keep the stool zone in mind when measuring the aisle behind it. The 42- or 48-inch clearance should be considered with stools pulled out, not tucked neatly under the countertop. If chairs back directly into a main walkway, the room may need a different island orientation or a smaller seating arrangement.
Counter-height islands are generally 36 inches high, matching standard kitchen counters. This is often the easiest height for prep work and casual dining. A raised bar can hide dishes from an adjacent living area, but it creates separate levels and reduces uninterrupted work surface. For many families, one large, counter-height surface is the more flexible choice.
Choose Features Before Finalizing the Footprint
An island with only cabinets and countertop can stay relatively compact. Once a sink, dishwasher, cooktop, microwave drawer, wine refrigerator, or trash pullout is added, the required cabinet layout changes quickly.
A sink island needs enough landing space on both sides for food prep and clean dishes. If a dishwasher is beside the sink, plan for its open door and for nearby storage for dishes and glassware. A cooktop island requires ventilation planning, proper clearances, and a realistic conversation about splatter, especially if the island faces a living room or dining area.
Electrical outlets are another detail that should not be treated as an afterthought. Code requirements and local conditions affect placement, but a well-planned island usually includes convenient power for small appliances and charging. In some layouts, adding plumbing or electrical to an island also affects the project scope, flooring work, and budget.
This is why the best island plans begin with priorities. If baking and meal prep are the goal, uninterrupted countertop and deep drawers may matter most. If the island is a family gathering point, seating and circulation may take priority. Trying to fit every possible feature into one cabinet run can compromise all of them.
Respect the Kitchen Work Zones
The traditional work triangle – the path between the refrigerator, sink, and range – remains helpful, but modern kitchens often work better when planned as zones. A prep zone needs clear counter space near the sink and refrigerator. A cooking zone needs room for pots, utensils, and hot pans. A cleanup zone needs access to the dishwasher, trash, and dish storage.
An island can strengthen these zones or interrupt them. A prep sink can be highly useful in a larger kitchen with two cooks. In a smaller kitchen, placing the main sink in the island may make sense, but the sink should not consume the only generous open work area.
Avoid placing the island where it forces people to walk through the main prep zone to reach the refrigerator. Also consider paths to a pantry, patio door, mudroom, or dining room. In Metro Detroit homes, kitchen renovations often involve layouts that evolved over decades, so existing openings can be just as influential as the cabinet walls.
When a Fixed Island Is Not the Right Answer
A fixed island is not automatically the best improvement. In a narrow galley kitchen, a peninsula may provide additional countertop and storage without trapping the room in a tight corridor. In a compact space, a movable cart or small worktable can offer prep room while preserving flexibility.
Removing an island can also be the right call when it blocks natural movement or takes space from a dining area that the household actually uses. A successful renovation is not about adding the most features. It is about making the room work better for the people living in it.
Measure the Finished Kitchen, Not Just the Empty Room
Early measurements should account for finished cabinet depths, countertop overhangs, wall finishes, and flooring transitions. Standard base cabinets are generally 24 inches deep, but handles, countertop edges, and decorative panels extend beyond the cabinet box. Those inches matter when the layout is tight.
Tape the proposed island footprint on the floor before making a final decision. Use boxes or chairs to represent stools, then walk through common routines: unloading groceries, opening the dishwasher, carrying a hot pan, and passing someone seated at the island. This simple exercise reveals issues that a flat drawing can miss.
For a kitchen remodel, Renovation Innovations can help homeowners turn those measurements into a custom layout that accounts for cabinets, appliances, backsplash details, flooring, and the realities of the home. Careful planning at this stage prevents expensive adjustments after materials are ordered.
Before settling on a dramatic oversized island, picture the busiest 20 minutes of a normal evening. If the room still allows people to cook, sit, clean up, and move through it without negotiating for space, the proportions are likely doing their job.
